Showing posts with label crochet. Show all posts

Saturday, August 31, 2019

New Post On The New Blog


Christmas in August

I've been crocheting a lot lately. Every year we hold an annual craft sale at work. This year I'm making items to sell.


To read more about what I've been crocheting and knitting lately, head over to the new blog

crochetincolors.com

See you there!

Monday, November 19, 2018

My New Brightech Magnifier Light

I have a new lamp that I’ve been using for a few days. For as long as I can remember, I’ve wanted a craft lamp. I see residents at the facility using them and I keep telling myself they would really help me with my crocheting at night while I’m sitting on the couch watching tv. If you’re like me you can’t use black or dark shades of different colors at night. Normal lighting just doesn’t cut it.

This lamp is from Brightech... and I chose to try the Lightview XL 2 in 1.


It's great for helping me thread needles. When I'm wearing my contacts, my close up vision is terrible. I love the magnifier because it makes threading a needle and painting details on ceramics super easy. I don't have to wear readers at all while using the lamp.


Another great feature is the light adjustment. The arrows can be touched to either brighten or dim the intensity of the light.


My favorite feature is the light. My craft room is really dark. Our house is a little weird. Our downstairs rooms are partially underground, so lighting in the craft room is from five different light bulbs. The lamp produces really nice white light. I don't like to craft in yellow or soft light. I love white light... I'm a light bulb fanatic. When I shop for light bulbs, I will only buy the clear or daylight bulbs, but it's almost impossible to find those. I can't stand the new light bulbs that the world has switched to in the last few years. Everything looks yellow. I don't take photos using light bulbs unless they are clear or daylight. Horrible lighting will ruin a photo. This light is awesome for photos because it doesn't yellow the shots or the objects in the shots. I may even use the lamp to take better photos.


The photos show the craft room with the lights turned off. The lamp produces plenty of bright light even in a dark room.


I have figured out that I like using it as a floor lamp, even though all of my photos show it as a table lamp. It easily converts back and forth. Since I crochet on the couch at night, I'll probably convert it back from the table lamp and sit it on the floor beside my spot on the couch. Now I can work with black or dark shades of yarn with no problem.

If you're in the market for a craft lamp or any other type of lamp, check out Brightech. I'm really happy that I had this opportunity to try one out.

Sunday, November 11, 2018

Wow... It’s Been Over A Year

It’s hard to believe I haven’t posted anything in over a year and a half. Last year was a truly miserable one. This one has been some better. It’s been busy as usual and I just wasn’t feeling blogging. It has been at the bottom of my list for a long time now. For a long time I didn’t crochet or knit...it didn’t interest me at all. I still lead a Girl Scout troop and work full time of course...so that’s taken every ounce of energy I have. Also, my beloved geriatric Sony Vaio laptop crashed. It was my fault because I loaded so much onto that thing. So blogging on my phone (which I’m doing now) didn’t appeal to me at all. Now I feel the need to share again. Recently I started knitting hats after a request from a coworker. That reminded me of how much I needed it. I’m also crocheting Christmas baubles. At work every year our facility holds an awesome two day Christmas craft fair. At first we thought we were going to cancel because we weren’t ready. But instead of canceling, lots of staff and residents are pitching in to create items to sell. So I’m painting a couple ceramic pieces and crocheting the baubles.


I’ve made seven so far with a goal of about twenty. I think I can get them done in time. I used Pinterest to lead me to the patterns. The red, white and green one can be found here. The red, yellow, pink and purple one can be found here. The tiny stocking pattern can be found here. 

I’ve starting painting these ceramics which were donated to the facility by a resident’s family member. It’s a slow process considering I’m somewhat of a perfectionist. I’m turning the owl into a planter for a succulent or other plant of some kind.


I have to say this post has frustrated me since it’s taken over an hour to do on my phone. Maybe before long I can get a new laptop or iPad to use. 

I hope you all have a happy Sunday. I’ll be back in a few days...since I have plans for another post next Sunday. 

It’s good to be back,
Liz


Sunday, December 4, 2016

Crochet Therapy and a Give Away


Crochet Therapy by Betsan Corkhill is a book I contributed to awhile back. The book came out in September and I'm finally getting around to blogging about it. I came up with two patterns for the book; a ripple throw and a small hexi rug.


There are several more designs in the book, here are just a couple


If you're interested in Crochet Therapy you can find it here. I love working on projects for books and magazines, but unfortunately I just don't have the time for too much. Currently I have no commissioned projects scheduled, so I'm working on gifts. A mix of crochet and knit. I'm really liking the fur pom poms right now, so I'm working on a few hats.

 This is a short post, but I do want to offer a copy of Crochet Therapy to a fellow blogger. Since I've been away for so long I feel compelled to give something away. I have a couple extra copies and if you decide you would like to win one, then just leave me a comment. You don't have to do anything else, just comment. I'll randomly select a winner this coming Friday. Good Luck and I'll be back Friday!

Sunday, July 10, 2016

Stripey Hanging Basket

Can you believe I'm finally posting the pattern for this basket?


I just love this basket... it makes me smile every time I walk by it in the craft room. The colors are so bright and cheerful. I chose Lion Brand Vanna's Choice because of the variety of colors. The acrylic holds up well for repeated use and gives it the right amount of form and shape.  


I use it to hold all of those hexagons that I've been crocheting for awhile now. 

Ok... on to the good part.

Materials

Worsted weight yarn
I used Lion Brand Vanna's Choice. Obviously, I used several different colors. For certain colors I used the Vanna's Choice Baby
Crochet Hook size G 
Yarn needle

Stitches Used

Ch   chain
Sc    single crochet
Dc   double crochet
Sl st   slip stitch
Standing double crochet
Standing single crochet
Invisible join

Standing dc: Begin this stitch with a slip knot. YO, then insert the hook into the stitch. YO and pull through st. YO and work like a regular dc. Pull the starting tail tightly. You'll weave it in later.

Standing sc: Begin with a slip knot, then insert hook into st. YO and pull through st. YO pull through both loops,making a sc. Pull the starting tail tightly. You'll weave it in later.

These two stitches may seem confusing at first. Basically you'll be eliminating chains. 

Gauge is not too important
If you crochet loosely then it will turn out larger than mine. I tend to crochet a little bit tightly


Pattern

Ch 4

Rnd 1: Work 9 dc in the 4th chain from hook. The 3 chains skipped, count as the first dc of the rnd. Join with sl st. (10dc)

Rnd 2: Ch 3 (counts as first st). Dc in same st, 2 dc in each st around. Join with invisible join method. (20 dc)

Rnd 3: Changing colors, use the standing dc method for first st. Dc in same st. Dc in next st. (2 dc, dc) around. Join using invisible join method. (30 dc)

By using the standing dc method and the invisible joins you can start each new round at any point of the work. I started each rnd, in different areas of my basket... just to make sure it looked seamless

For the next few rounds, remember the standing dc and invisible join.

Rnd 4: (2 dc, dc in next 2 sts) around. (40 dc)

Rnd 5: (2 dc, dc in next 3 sts) around. (50 dc)

Rnd 6: (2 dc, dc in next 4 sts) around. (60 dc)

Rnd 7: (2 dc, dc in next 5 sts) around. (70 dc)

Rnd 8: (2 dc, dc in next 6 sts) around. (80 dc)

Rnd 9: (2 dc, dc in next 7 sts) around. (90 dc)

The bottom is now complete. You will have 90 dc.


Rnd 10: Changing colors and working in the back loop, dc in each stitch around. Remember to continue using the standing dc and invisible join method for each round.

Rnd 11: Changing colors, work under both loops (like normal), begin with the standing dc method. Dc in each st around. Join with invisible join.

Rnd 12- 28: Repeat rnd 11.

Rnd 29: Change colors and use the standing sc method to begin. Sc in next 44 sts. Ch 22, sc in next st and remaining sts of rnd. Do not join or finish off.

Rnd 30: Sl st in each st and chain. I crocheted this rnd rather tightly to draw the top in just a smidge.
Finish off with an invisible join.

Weave all ends with the yarn needle.


You can now hang it or sit in on its bottom. I had so much yarn left over after completing this project. I'm using my left overs to make squares and hexagons.

Leave me a comment if you have a question. I'll do my best to answer. I'm working hard to improve on that.

If you decide to make one, please share. I'll be sharing the pattern on Ravelry soon.

Sunday, January 10, 2016

Pixel Crochet

Pixel Crochet is another book that I worked on in 2015. I contributed one project... a dog blanket.


Here is the doggie bed/ blanket


All projects in the book were designed by Hannah Meur. The idea is to make projects with granny squares. Super easy and perfect for all skill levels.


There are lots of unique projects to make. Like the cover says... there are 101 supercool designs to choose from. Ireland wants me to make her this play tent


If you're interested in getting a copy, visit your local craft stores or online here.

For my next post, I'll try to post the pattern for the crochet hanging basket. I completely forgot about that one. So sorry for that.

Have a wonderful week!

Sunday, December 20, 2015

And The Winner Is...

I almost forgot that I needed to randomly select the winner of this book


So without making you wait any longer, the winner is...

Emma Haughton

Congrats Emma! I really hope you like the book and find something you would like to crochet.
Just send me your contact information and address and I'll put it in the mail this week.
My preferred email address is sunshine75t@gmail.com

For the next post, I have another pattern book to share, but I haven't taken any photos yet. 

For now, I will share my most recent finished project. It's a Christmas tree skirt. 


I actually made two. Of course Ireland wanted one for her tree. I didn't mind since I messed up the first one and made it small with a tiny opening. That worked well for her artificial 4 ft tree. We have a live 9 ft tree in the living room, so the opening for the stand had to be a lot larger. I was inspired by Cherry Heart blog.

This is Ireland's

Anyway, I'll be back in a few days to tell you about another book. I'm not sure if I'll do a giveaway for that one yet. I only have one copy of it for now. I just might decide to do one though. Kind of like a celebration for each published project.

Have a great week and holiday!

Sunday, December 13, 2015

Big Hook Rag Crochet Give away

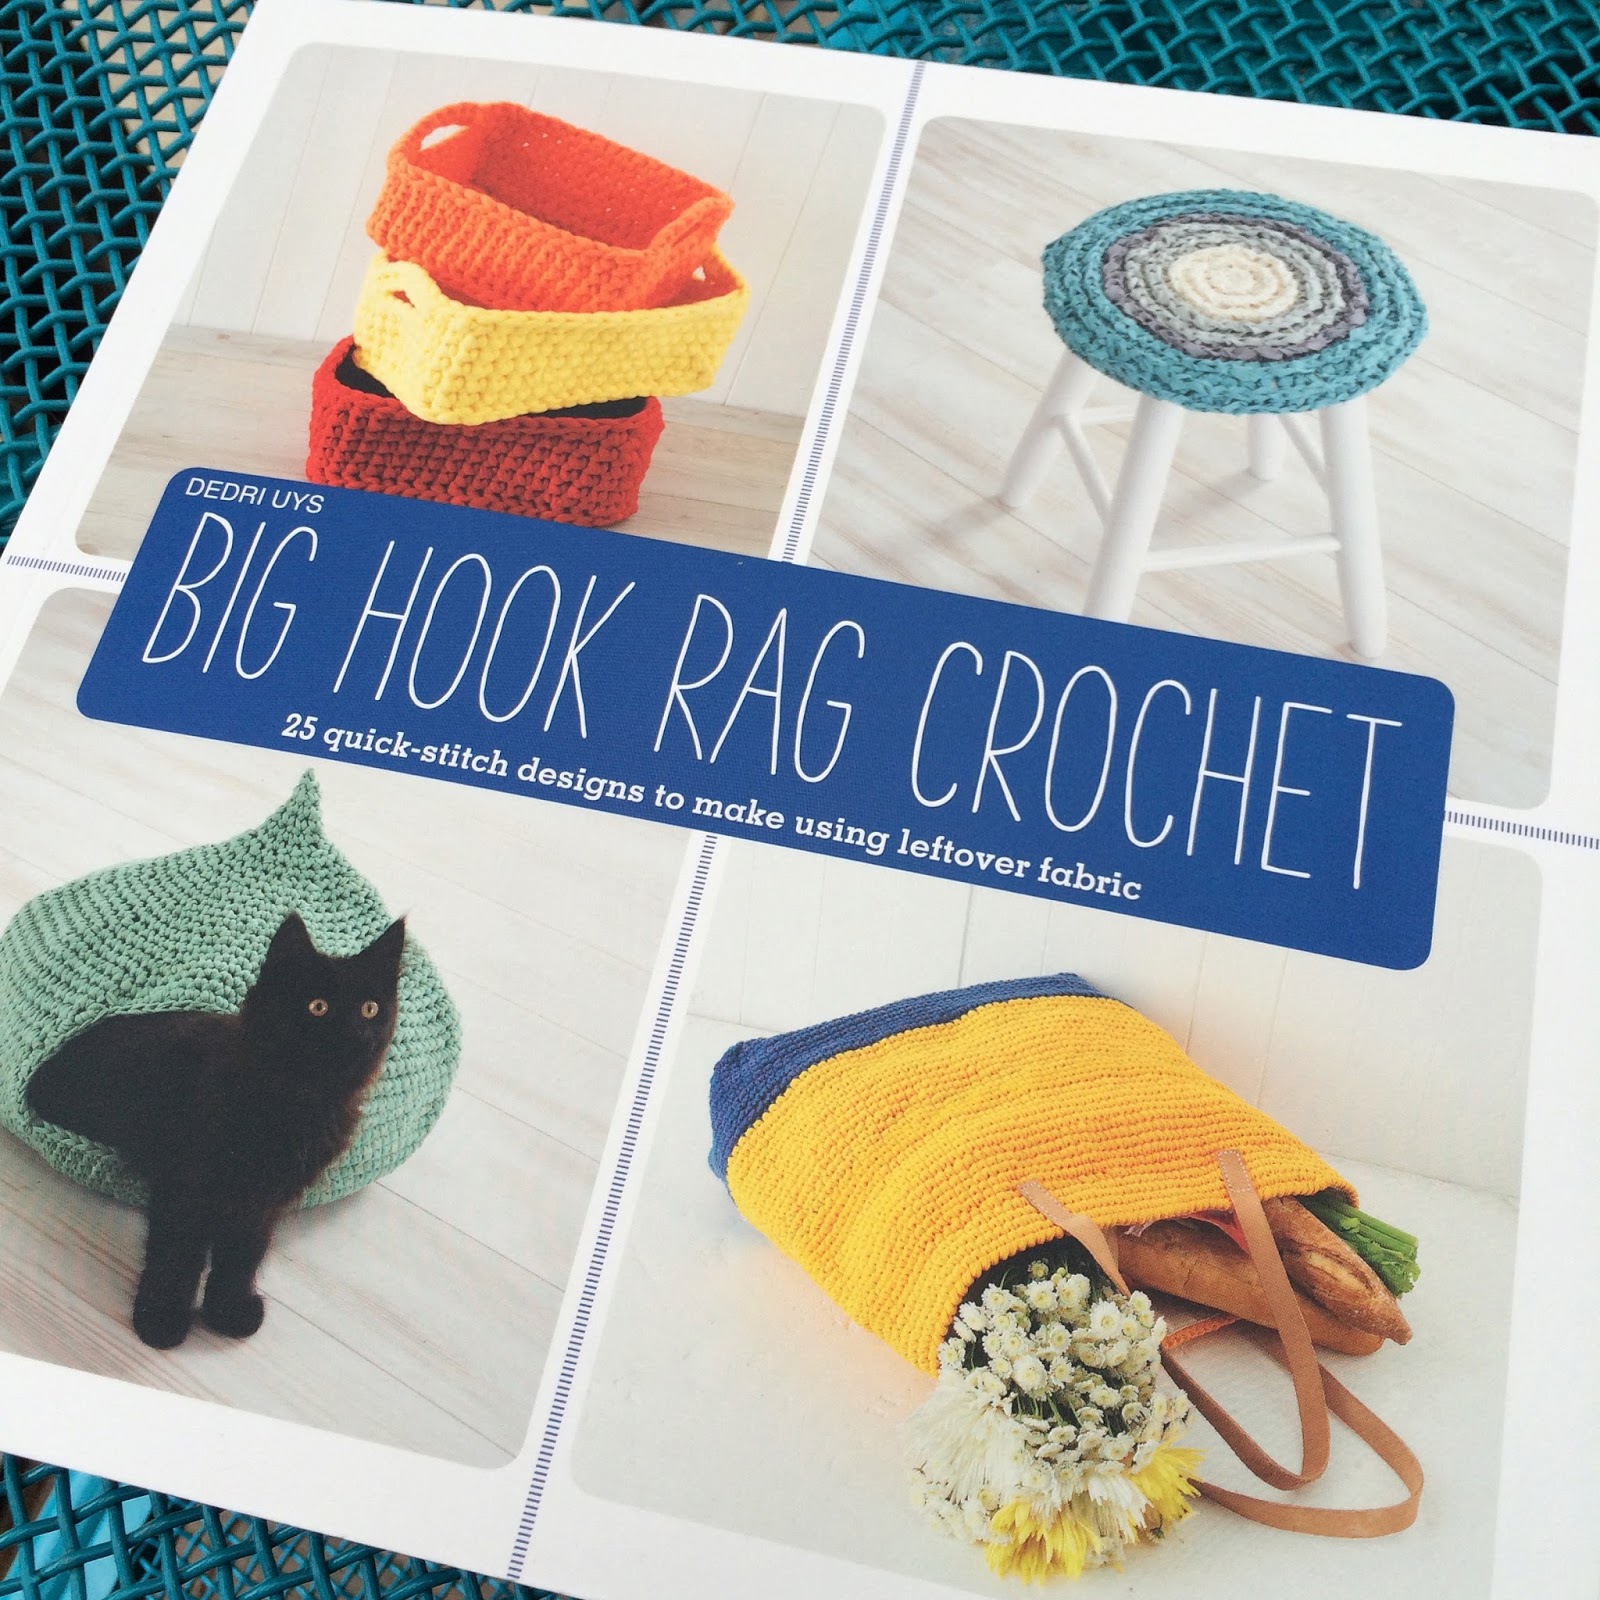
A few weeks ago I mentioned a give away. I am giving away a copy of this


Big Hook Rag Crochet includes one of my patterns... a basket. Inside you will also find other patterns for projects using different types of fabric. I made the basket using T shirts.


I took a few photos of the contents pages so you could see a little preview of the other patterns included


If you would like to receive this book for free, then just leave me a comment. You don't have to say a whole lot or share on Facebook, Instagram or any other site. Easy!


I'll randomly select the winner in one week (next Sunday). See you then!

Thursday, October 29, 2015

Big Hook Rag Crochet

I'm excited to share some news about what I've been working on lately. It's a new pattern included in a new crochet book called Big Hook Rag Crochet.


The book was released this week and I was so happy to receive a copy in the mail today.


Here's a photo I took of the actual basket before it was sent for the photo shoot


I know it looks similar to the original Ombre Basket, but it's actually a totally different pattern. The whole concept is different. I used t-shirts to make this. The whole idea for the book is described in the title.


I love the book, which includes designs by various crocheters. It's so nice to see this in print. I've been working on more projects this year that will be included in a couple other books.

But to celebrate this one I'll be having a giveaway. So stay in touch to find out more. I know I've been slack lately, but these types of projects and deadlines have kept me busy. This weekend I'll be attending the Southeastern Animal Fiber Fair (SAFF) in Fletcher, NC (near Asheville). It will be my first time at SAFF and I'm really looking forward to it. I'm even taking a spin class.

Come back in a few days to see pictures of SAFF and to find out more about the upcoming giveaway.
If you would like to purchase your own copy of the new book, just click on this link.

Have a great weekend!

Saturday, July 25, 2015

Colorful Stripey Projects

I'm working on a few colorful projects. One is finished. I'm calling it the Colorful Stripey Hanging Basket

When I started it, my intentions were for it to be a bag with handles for carrying small WIPs. But the plan changed. I decided I wanted a hanging basket to go in the craft room. 

The instructions are super basic and simple, so posting it shouldn't take me too long. 

I know this post is short and sweet but I wanted to share a little bit of my WIPs.

Have a great weekend✌️


Sunday, March 22, 2015

Inside Out Jute Bowl

It's taken me awhile to post this pattern because I've been picky about the photos.


The pics below are taken with the right side facing...without turning it inside out


Here's a closeup of the sides
Either way is fine... I just prefer to turn mine inside out

Ok now to the good stuff. Here's how it's all done

Materials
3 ply jute (140 yards) I found mine at Dollar General (I know, huh) for a dollar each... I bought 2
Size K crochet hook
Yarn needle

Abbreviations
St                    Stitch
Hdc                 Half double crochet
Sc                   Single crochet
Reverse sc       Reverse single crochet
Sl st                 Slip stitch
Ch                   Chain

Gauge
5 sts or 4 rounds = 2 inches/ 5 cm

Note: Begin each rnd with ch 2 which counts as first hdc

Pattern

Holding 2 strands of jute twine, ch 3.

Rnd 1:  7 hdc in 3rd ch from hook. The skipped chains count as first hdc of the rnd. Join with sl st. (8 hdc)

Rnd 2:  Ch 2, hdc in same st. 2 hdc in each st, join. (16 hdc)

Rnd 3:  Ch 2, hdc in same st, hdc in next st, (2 hdc, hdc) around, join. (24 hdc)

Rnd 4:  Ch 2, hdc in same st, hdc in next 2 sts, (2 hdc, hdc in next 2 sts) around, join. (32 hdc)

Rnd 5:  Ch 2, hdc in same st, hdc in next 3 sts, (2 hdc, hdc in next 3 sts) around, join. (40 hdc)

Rnd 6:  Ch 2, hdc in same st, hdc in next 4 sts, (2 hdc, hdc in next 4 sts) around, join. (48 hdc)

Rnd 7:  Ch 2, hdc in same st, hdc in next 5 sts, (2 hdc, hdc in next 5 sts) around, join. (56 hdc)

Begin working sides. The right side will always face you as you work. I've noticed this can be confusing for some who post photos with the right side turned inside. For this bowl that's exactly what we're doing, but don't turn inside out until you get to the last round.

For the sides I used the same technique as with the other baskets I've posted. For the next round, work under the loop on the back side of the stitch.

 This creates the seam separating the bottom and sides.


Rnd 8:  Working under the loop on the back of each stitch, work hdc in each st around. Join.

Rnd 9-10:  Repeat rnd 8.

Rnd 11:  Working in back side of stitch of previous rnd, sc in 12 sts, ch 6, skip next 5 sts, sc in next 23 sts, ch 6, skip next 5 sts, sc in next 11 sts. Join. 

Now turn bowl inside out. The last rnd will be worked using reverse sc. To do this you will be working to your right on the round... Basically backwards.

Rnd 12:  Ch 1, Reverse sc in 11 sts, 7 reverse sc under ch 6 space, reverse sc in next 23 sts, 7 reverse sc under ch 6 space, reverse sc in last 12 sts. 

Finish off and weave ends.

I'm reviewing the pattern for mistakes, so feel free to comment with any questions. If you're unsure about the reverse sc, you tube has lots of video tutorials. I'll look and post the best one I can find later today.

Enjoy!