Showing posts with label basket. Show all posts

Saturday, August 31, 2019

New Post On The New Blog


Christmas in August

I've been crocheting a lot lately. Every year we hold an annual craft sale at work. This year I'm making items to sell.


To read more about what I've been crocheting and knitting lately, head over to the new blog

crochetincolors.com

See you there!

Sunday, July 10, 2016

Stripey Hanging Basket

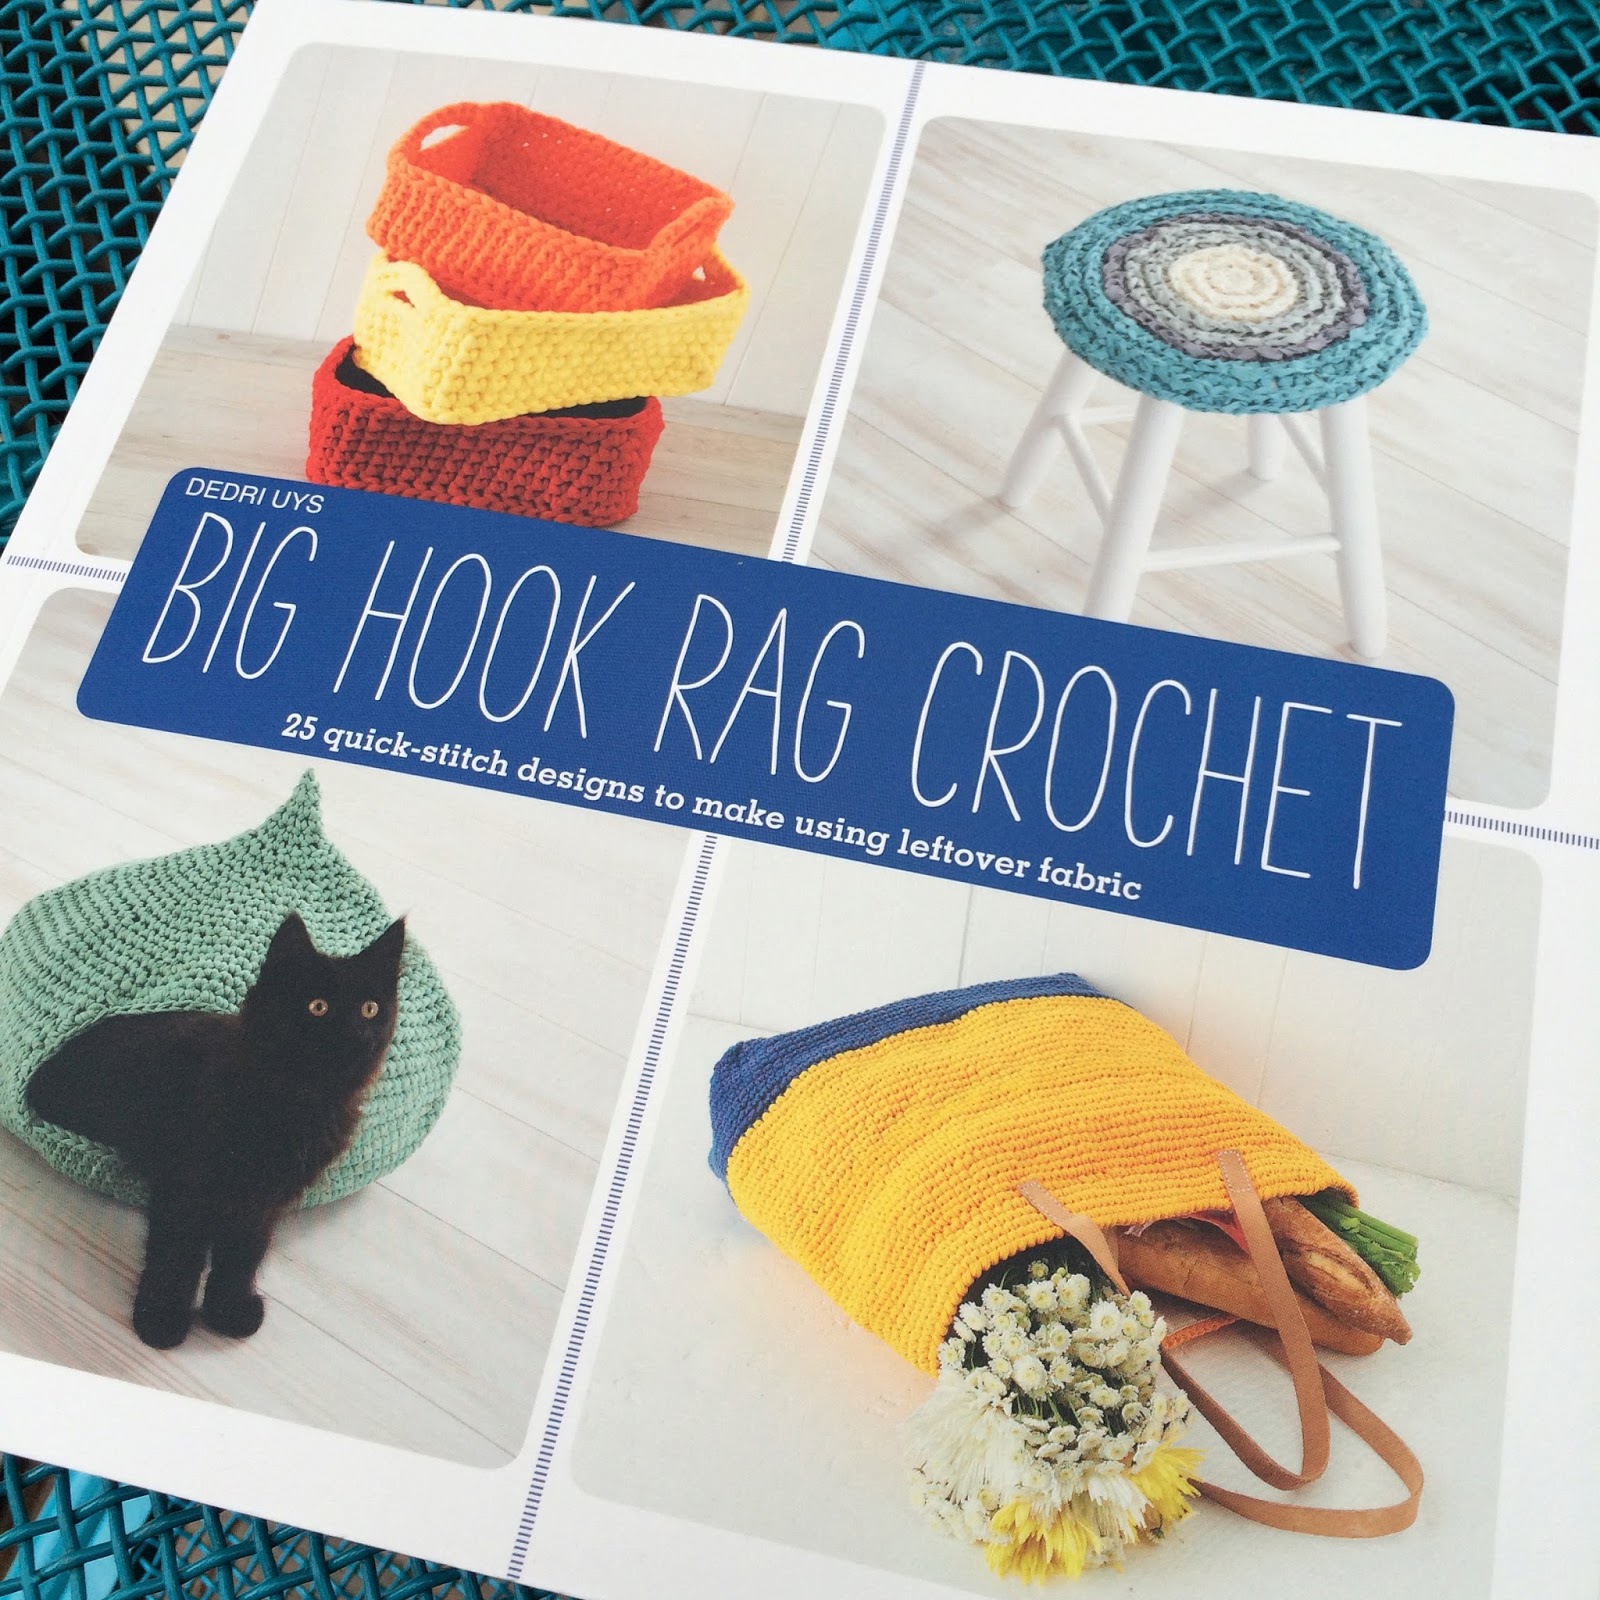
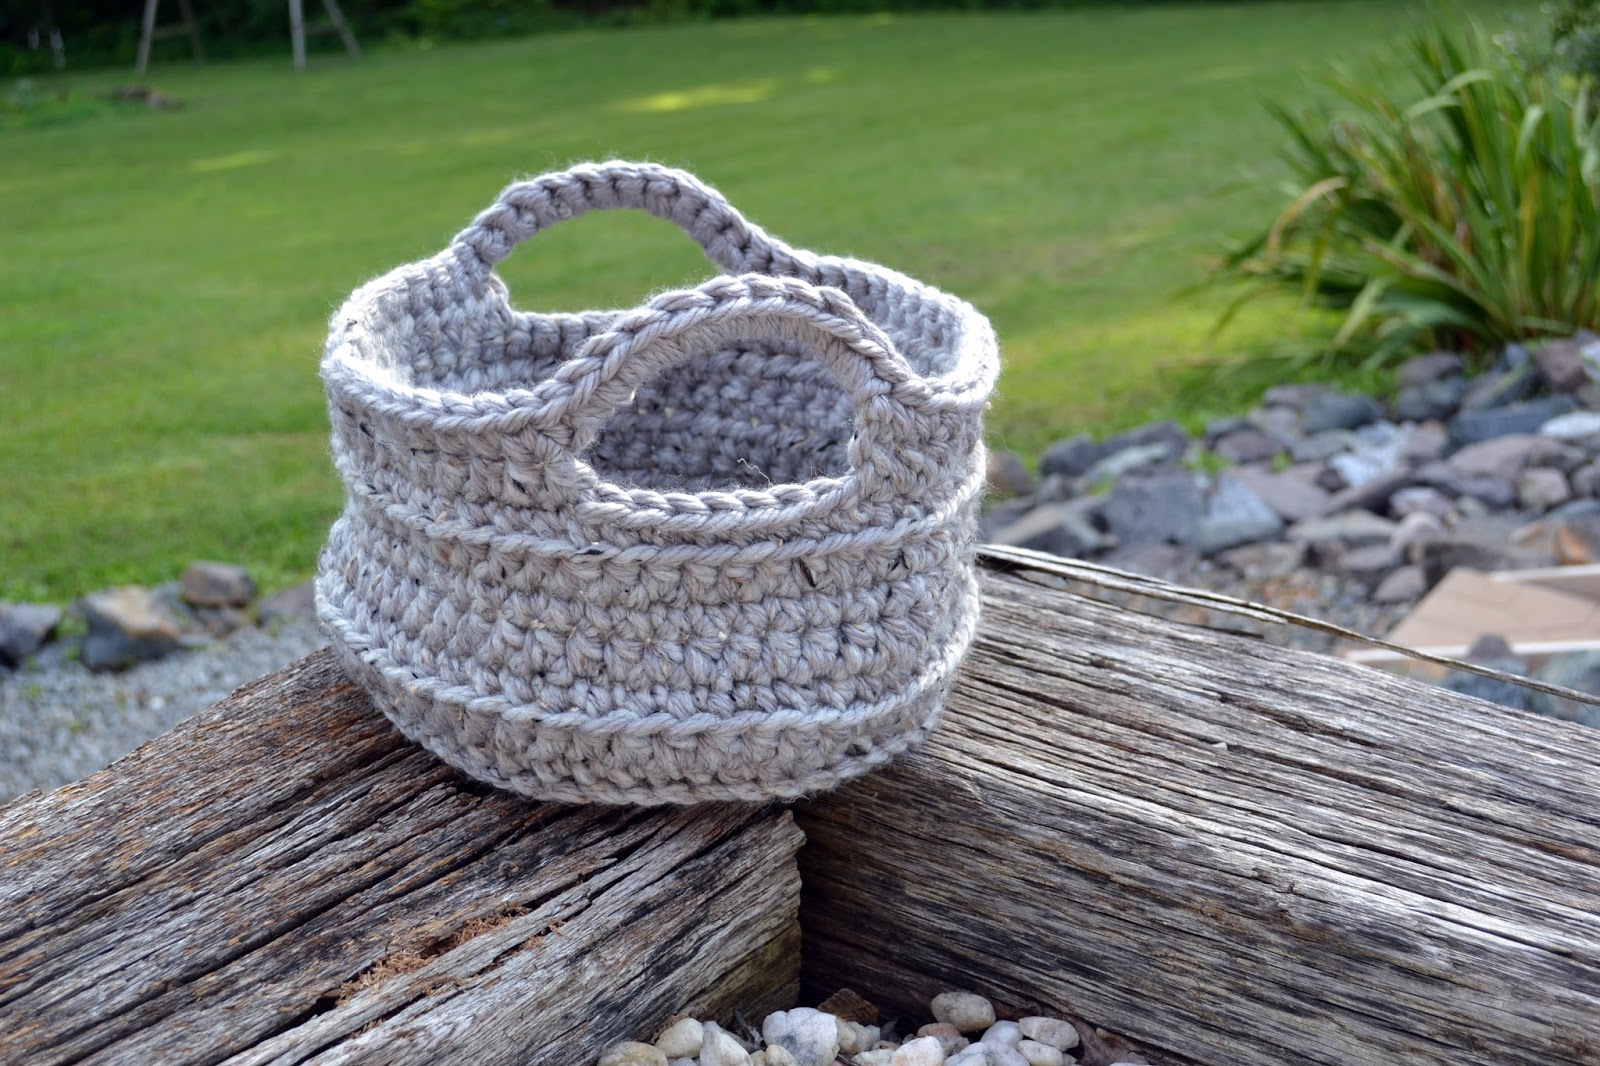
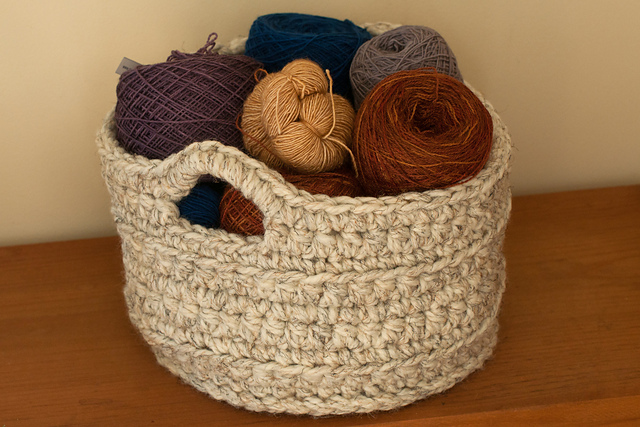
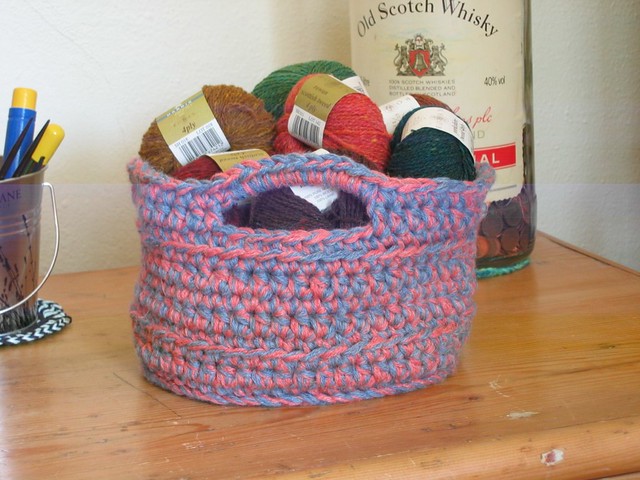
Can you believe I'm finally posting the pattern for this basket?


I just love this basket... it makes me smile every time I walk by it in the craft room. The colors are so bright and cheerful. I chose Lion Brand Vanna's Choice because of the variety of colors. The acrylic holds up well for repeated use and gives it the right amount of form and shape.  


I use it to hold all of those hexagons that I've been crocheting for awhile now. 

Ok... on to the good part.

Materials

Worsted weight yarn
I used Lion Brand Vanna's Choice. Obviously, I used several different colors. For certain colors I used the Vanna's Choice Baby
Crochet Hook size G 
Yarn needle

Stitches Used

Ch   chain
Sc    single crochet
Dc   double crochet
Sl st   slip stitch
Standing double crochet
Standing single crochet
Invisible join

Standing dc: Begin this stitch with a slip knot. YO, then insert the hook into the stitch. YO and pull through st. YO and work like a regular dc. Pull the starting tail tightly. You'll weave it in later.

Standing sc: Begin with a slip knot, then insert hook into st. YO and pull through st. YO pull through both loops,making a sc. Pull the starting tail tightly. You'll weave it in later.

These two stitches may seem confusing at first. Basically you'll be eliminating chains. 

Gauge is not too important
If you crochet loosely then it will turn out larger than mine. I tend to crochet a little bit tightly


Pattern

Ch 4

Rnd 1: Work 9 dc in the 4th chain from hook. The 3 chains skipped, count as the first dc of the rnd. Join with sl st. (10dc)

Rnd 2: Ch 3 (counts as first st). Dc in same st, 2 dc in each st around. Join with invisible join method. (20 dc)

Rnd 3: Changing colors, use the standing dc method for first st. Dc in same st. Dc in next st. (2 dc, dc) around. Join using invisible join method. (30 dc)

By using the standing dc method and the invisible joins you can start each new round at any point of the work. I started each rnd, in different areas of my basket... just to make sure it looked seamless

For the next few rounds, remember the standing dc and invisible join.

Rnd 4: (2 dc, dc in next 2 sts) around. (40 dc)

Rnd 5: (2 dc, dc in next 3 sts) around. (50 dc)

Rnd 6: (2 dc, dc in next 4 sts) around. (60 dc)

Rnd 7: (2 dc, dc in next 5 sts) around. (70 dc)

Rnd 8: (2 dc, dc in next 6 sts) around. (80 dc)

Rnd 9: (2 dc, dc in next 7 sts) around. (90 dc)

The bottom is now complete. You will have 90 dc.


Rnd 10: Changing colors and working in the back loop, dc in each stitch around. Remember to continue using the standing dc and invisible join method for each round.

Rnd 11: Changing colors, work under both loops (like normal), begin with the standing dc method. Dc in each st around. Join with invisible join.

Rnd 12- 28: Repeat rnd 11.

Rnd 29: Change colors and use the standing sc method to begin. Sc in next 44 sts. Ch 22, sc in next st and remaining sts of rnd. Do not join or finish off.

Rnd 30: Sl st in each st and chain. I crocheted this rnd rather tightly to draw the top in just a smidge.
Finish off with an invisible join.

Weave all ends with the yarn needle.


You can now hang it or sit in on its bottom. I had so much yarn left over after completing this project. I'm using my left overs to make squares and hexagons.

Leave me a comment if you have a question. I'll do my best to answer. I'm working hard to improve on that.

If you decide to make one, please share. I'll be sharing the pattern on Ravelry soon.

Thursday, October 29, 2015

Big Hook Rag Crochet

I'm excited to share some news about what I've been working on lately. It's a new pattern included in a new crochet book called Big Hook Rag Crochet.


The book was released this week and I was so happy to receive a copy in the mail today.


Here's a photo I took of the actual basket before it was sent for the photo shoot


I know it looks similar to the original Ombre Basket, but it's actually a totally different pattern. The whole concept is different. I used t-shirts to make this. The whole idea for the book is described in the title.


I love the book, which includes designs by various crocheters. It's so nice to see this in print. I've been working on more projects this year that will be included in a couple other books.

But to celebrate this one I'll be having a giveaway. So stay in touch to find out more. I know I've been slack lately, but these types of projects and deadlines have kept me busy. This weekend I'll be attending the Southeastern Animal Fiber Fair (SAFF) in Fletcher, NC (near Asheville). It will be my first time at SAFF and I'm really looking forward to it. I'm even taking a spin class.

Come back in a few days to see pictures of SAFF and to find out more about the upcoming giveaway.
If you would like to purchase your own copy of the new book, just click on this link.

Have a great weekend!

Sunday, March 22, 2015

Inside Out Jute Bowl

It's taken me awhile to post this pattern because I've been picky about the photos.


The pics below are taken with the right side facing...without turning it inside out


Here's a closeup of the sides
Either way is fine... I just prefer to turn mine inside out

Ok now to the good stuff. Here's how it's all done

Materials
3 ply jute (140 yards) I found mine at Dollar General (I know, huh) for a dollar each... I bought 2
Size K crochet hook
Yarn needle

Abbreviations
St                    Stitch
Hdc                 Half double crochet
Sc                   Single crochet
Reverse sc       Reverse single crochet
Sl st                 Slip stitch
Ch                   Chain

Gauge
5 sts or 4 rounds = 2 inches/ 5 cm

Note: Begin each rnd with ch 2 which counts as first hdc

Pattern

Holding 2 strands of jute twine, ch 3.

Rnd 1:  7 hdc in 3rd ch from hook. The skipped chains count as first hdc of the rnd. Join with sl st. (8 hdc)

Rnd 2:  Ch 2, hdc in same st. 2 hdc in each st, join. (16 hdc)

Rnd 3:  Ch 2, hdc in same st, hdc in next st, (2 hdc, hdc) around, join. (24 hdc)

Rnd 4:  Ch 2, hdc in same st, hdc in next 2 sts, (2 hdc, hdc in next 2 sts) around, join. (32 hdc)

Rnd 5:  Ch 2, hdc in same st, hdc in next 3 sts, (2 hdc, hdc in next 3 sts) around, join. (40 hdc)

Rnd 6:  Ch 2, hdc in same st, hdc in next 4 sts, (2 hdc, hdc in next 4 sts) around, join. (48 hdc)

Rnd 7:  Ch 2, hdc in same st, hdc in next 5 sts, (2 hdc, hdc in next 5 sts) around, join. (56 hdc)

Begin working sides. The right side will always face you as you work. I've noticed this can be confusing for some who post photos with the right side turned inside. For this bowl that's exactly what we're doing, but don't turn inside out until you get to the last round.

For the sides I used the same technique as with the other baskets I've posted. For the next round, work under the loop on the back side of the stitch.

 This creates the seam separating the bottom and sides.


Rnd 8:  Working under the loop on the back of each stitch, work hdc in each st around. Join.

Rnd 9-10:  Repeat rnd 8.

Rnd 11:  Working in back side of stitch of previous rnd, sc in 12 sts, ch 6, skip next 5 sts, sc in next 23 sts, ch 6, skip next 5 sts, sc in next 11 sts. Join. 

Now turn bowl inside out. The last rnd will be worked using reverse sc. To do this you will be working to your right on the round... Basically backwards.

Rnd 12:  Ch 1, Reverse sc in 11 sts, 7 reverse sc under ch 6 space, reverse sc in next 23 sts, 7 reverse sc under ch 6 space, reverse sc in last 12 sts. 

Finish off and weave ends.

I'm reviewing the pattern for mistakes, so feel free to comment with any questions. If you're unsure about the reverse sc, you tube has lots of video tutorials. I'll look and post the best one I can find later today.

Enjoy!


Sunday, March 1, 2015

Two Hour Project

I haven't left home all weekend. Yesterday, as I watched the UNC game on TV and looked through the IKEA catalog, I came up with a new project.


I saw a few bowls that I would like to have, and thought, 'Hey, I can make one.' So I came up with this


I used jute twine and was finished before the game was over. How's that for instant gratification?

Today I've written up most of the pattern and I'll try to finish it soon. 


I think I'll call it the inside out jute bowl... of course because it's inside out. You can tell if you look close. 

I'll be back with the pattern and better photos. I love it when projects come to me like this... quick and simple.

Have a great rest of the weekend!

Friday, September 13, 2013

Purple Haze Bag and a Colorful Basket

Here's another bag for the craft fair


This one is made with a round bottom


Homespun yarn doubled...unfortunately with 2 different dye lots as you can tell. Oh well;)

A really fast project

Here is the colorful basket


I'm still working on the stripey bag...maybe I'll finish it this weekend.


Sunday, August 25, 2013

Basket Burnout

I have made three more this week... I'm burn out


A few crocheters have asked me if it would make a big difference if they used an M or N hook instead of the L hook that I prefer. 

So here are the results...


The smaller one on the left was made with an L hook
The middle one with an M hook, and
The one on the right with an N hook


You can really see the difference above. N hook vs L hook. I still prefer the L. The smaller basket is so firm and does not sag or move. It is so tight it could almost stand on its handles (I'm exaggerating a little)

I just don't like how the other two have to be shaped to look the way they do in the photos...so this is why I recommend the L hook.


I made this one a little different. I used an N hook and added 6 more stitches in the body to make the shape more oval.


One more shot of all four


One more note:
To answer another question...when crocheting in the round such as these baskets or hats, always remember there is a right side and a wrong side. It is easy to have a basket or hat turn inside out when making it. Notice the difference in the look of the stitches. 
As you crochet, remember that your stitches will always be facing you when on the right side.

Many baskets I have seen posted are actually turned wrong side out. If you look at the second photo in this post, you can see the difference in the inside of the basket and the outside. When finished, the top of the stitches of the last round should be facing out, not in. This is how you can tell if you have accidentally turned the basket inside out.

Hope this helps answer some questions:)

Wednesday, August 21, 2013

My Favorite Basket... So Far


I made this basket last night sitting in front of the tv. I think it's my favorite one yet. It's another chunky crochet basket. The color is perfect. 

I used Lion Brand Thick and Quick in Oatmeal. It took every bit of 2 skeins with an N hook. The size is a larger (7 inches in height and 10 inches in diameter) since I used a larger hook. This particular color of yarn seems to be thicker than other colors of the same brand. 

I think I'll make 2 or 3 more just like this for the craft fair.

Saturday, August 3, 2013

Hexagons and More

I am loving hexagons right now.


This is not a very good photo but I'll post more when I post the pattern. 

I've also been working on more baskets


I may be doing a craft fair, so I'm going to get busy making more of these in different colors.

We came back from the beach a few days ago and I thought I would share some pics. We had a really good time.


When I get motivated I'll sit down and write up the hexagon pattern

I'll be back :)


Saturday, September 29, 2012

More of Your Chunky Baskets

I just had to share some more of the beautiful baskets that you all have created. Considering this time of year, these baskets are a good idea for holding candy or gifts, or to be created specifically as a gift. I love the colors. The first one is so pretty.


How gorgeous is this green? This was made by Romina from Madrid, Spain. I have to say...Romina totally inspires me. Check out her blog http://damelalata.blogspot.com/. She is amazing

I also love the neutral colors used in these...


These look so much like my own version, but made by Sophie, from France, http://figuierdesophie.canalblog.com/

and this one ...made by Stof, http://kneutsel.blogspot.nl/ Go on over and check this blog out...there you will find a tutorial on how to recycle t-shirts or sheets to create yarn


these colors look so autumny;D...you know what I mean. This one was made by Carol from Wakefield, MA.


and these were made by my dear Meredith, http://mereknits-mereknits.blogspot.com/. She added some pretty embellishments


this one by the creative Ali, http://www.ravelry.com/designers/ali-green


this altered version is so cool, made by Simona from the Czech Republic. She's giving me some ideas here


keep sending me your links...I love to share. I may add some more later. The pattern for this basket is here on my blog.

Today I'm finishing a pattern to post tomorrow so check back with me then.

Oh, and by the way, has anyone seen Sandra K, the winner of the slippers? She hasn't claimed her prize.

Sandra K if you find this post please send me your info so I can send your slippers to you;D